Table of Contents
ToggleBuilding an outdoor kitchen for kids transforms a backyard into an engaging learning space where children develop cooking skills, confidence, and a love for fresh air and food. Unlike standard home kitchens, a kids’ outdoor kitchen prioritizes accessibility, safety, and durability while remaining affordable and manageable for DIYers. Whether it’s a simple cart setup or a built-in station, the right outdoor kitchen encourages hands-on learning, creative play, and family bonding. This guide walks through the essentials, from planning the layout to installing equipment and creating safety features, so children can cook, learn, and have fun safely under the sun.
Key Takeaways
- An outdoor kitchen for kids transforms backyards into engaging learning spaces that teach cooking skills, build confidence, and encourage healthier eating habits through hands-on preparation.
- Essential elements include an accessible prep counter (24-30 inches high depending on age), a safe heat source like a portable grill or camp stove, weather-resistant storage, and reliable water access.
- Age-appropriate station design matters: younger children (4-7) need lower counters for no-heat prep work, middle kids (8-12) can handle supervised grilling, and teens (13+) are ready for independent cooking at standard counter heights.
- Safety features must include heat barriers and protective zones around the grill, required closed-toe shoes, readily accessible first aid kits, and clear rules with direct adult supervision for children near heat sources.
- Budget-friendly outdoor kitchens start under $500 using portable carts and tabletop equipment; avoid expensive permanent installations until children demonstrate consistent interest and cooking experience.
- Garden-to-table activities amplify learning when kids grow and harvest ingredients like basil and cherry tomatoes, deepening their connection to food and making ordinary recipes feel like outdoor adventures.
Why An Outdoor Kitchen Is Perfect For Kids
An outdoor kitchen is a game-changer for families looking to get kids engaged in cooking and gardening. The open-air setting removes the intimidation factor of a full-size indoor kitchen, making it easier for younger children to reach counters and use tools without needing a stool. Kids feel more freedom to experiment, make messes, and learn from mistakes in an outdoor space.
Outdoor kitchens also encourage movement and play. Rather than sitting passively indoors, children help grow ingredients, prep meals together, and eat outside, creating memories and healthier habits. The novelty of cooking outside makes ordinary recipes feel like adventures, whether it’s grilling simple vegetables or baking pizza in an outdoor oven.
From a practical standpoint, outdoor kitchens reduce pressure on your indoor space and make cleanup easier. Spills, splatters, and prep debris are less of a concern on a patio or deck. Plus, children who help prepare meals are far more likely to eat what they’ve cooked, solving the “picky eater” puzzle naturally.
Essential Elements And Equipment For A Kids’ Outdoor Kitchen
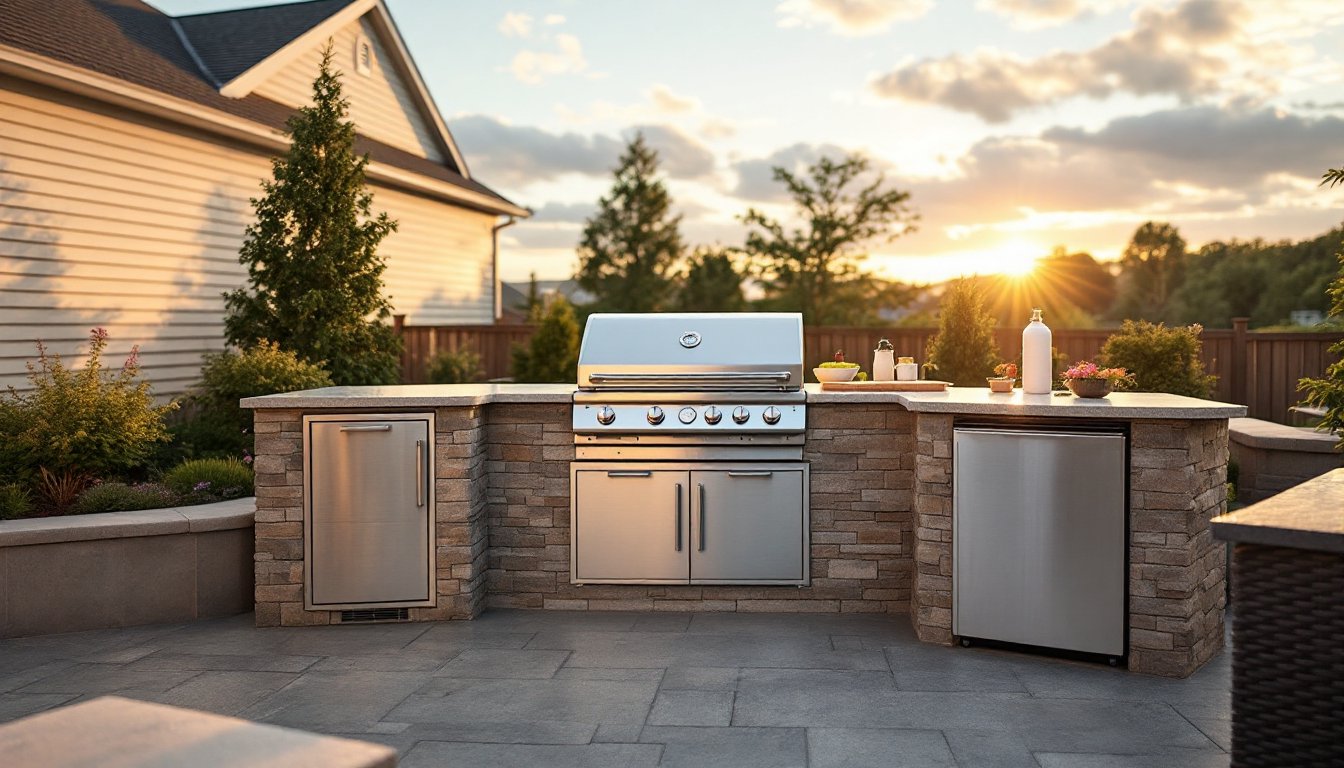
A functional kids’ outdoor kitchen doesn’t need to be elaborate. Start with the basics: a prep counter (at least 24 inches wide and 28-30 inches high for younger children), a heat source, storage, and water access. These four elements form the backbone of any outdoor kitchen, whether it’s a mobile cart or a permanent installation.
For the prep counter, a weather-resistant table with a sealed wood or composite top works well. Avoid direct sun exposure, shade keeps food safer and makes the space more comfortable. Stainless steel prep surfaces are durable and easy to clean, though composite materials cost less and still perform adequately.
A heat source can be a portable grill, a tabletop pizza oven, or even a simple camp stove on a cart. For kids, smaller BTU output is safer and sufficient. A 20-pound propane tank lasts longer than charcoal and is easier to manage than firewood. If you’re building permanently, running a gas line requires a licensed plumber and permits, don’t skip this step.
Storage keeps ingredients, utensils, and tools organized and protected from weather. A simple weatherproof cabinet or shelving unit with a cover works. Avoid storing chemicals or tools in reach of younger children.
Water access is critical for washing hands, produce, and dishes. If your outdoor kitchen is near a hose bib, consider adding a utility sink or hand-wash station. For a budget-friendly option, a large water jug with a spigot (5-gallon capacity) works temporarily, though it requires regular refilling.
Age-Appropriate Cooking Stations
Younger children (ages 4-7) need lower counters and simple, no-heat activities. A 24-inch counter height lets them reach comfortably. Focus on prep work: washing vegetables, tearing salad, mixing ingredients, and assembling cold foods. A small cutting board with a serrated child-safe knife is manageable at this age.
Middle-aged kids (ages 8-12) can handle supervised grilling and simple cooking. A 30-inch counter fits their height, and they’re ready for techniques like flipping, stirring, and light frying. They can learn to use a grill or camp stove safely with clear rules and close supervision.
Teens (ages 13+) are ready for more independence. A standard 36-inch counter height mirrors an adult kitchen, and they can work with most equipment unsupervised, provided they understand fire safety and proper handling of hot surfaces. This is a good age to introduce pizza ovens or more complex outdoor cooking methods.
Safety Features Every Kids’ Outdoor Kitchen Needs
Safety isn’t negotiable. Before any cooking happens, build in protections that let kids feel confident and you feel assured.
Heat protection is first. Never place a grill or stove where children can brush against it while running or playing. A protective barrier, such as a low fence, railing, or heat shield, keeps curious hands away. If building on a deck, check local fire codes: most require clearance of 10-15 feet between a grill and any wooden structure.
Proper footwear matters more outdoors than indoors. Require closed-toe shoes when cooking. Spilled grease, hot water, or dropped tools pose real risks to bare feet or sandals. This is non-negotiable.
First aid supplies must be immediately accessible. A waterproof first aid kit stored near the kitchen handles minor burns, cuts, and scrapes. Know the location of your nearest hose or faucet for cooling burns quickly, cool (not cold) water for 10-15 minutes is standard practice.
Fire safety can’t be overlooked. Keep a B-class fire extinguisher (rated for oil and gas fires) mounted and visible. Everyone using the kitchen should know how to locate and use it. If using propane, inspect lines for leaks monthly using a soapy water solution, bubbles mean a leak that needs immediate attention from a professional.
Personal protective equipment (PPE) varies by task. When grilling, kids should wear long sleeves or a protective apron and closed-toe shoes. For tasks involving wood construction or sanding, safety glasses and dust masks are mandatory. Ear protection isn’t always necessary for outdoor cooking, but it’s wise if using power tools during setup.
Clear rules and supervision are your strongest safety tool. Before cooking, walk through the task with children, explain hazards, and establish no-go zones. Younger children always need direct adult supervision at heat sources.
Engaging Activities And Recipes To Try
The whole point is fun and learning. Start with recipes and activities that build confidence. Vegetable skewers are ideal for beginners, kids thread pre-cut vegetables and cheese onto wooden skewers, then grill them over medium heat. No knife work, minimal risk, and results in 5-8 minutes.
Personal pizzas using pre-made dough let children top their own creation and watch it cook. If you’re building a permanent pizza oven, this becomes the centerpiece activity. For simpler setups, a grill-top pizza pan or cast iron skillet works well.
S’mores and campfire cooking harness the outdoor excitement. Toasting marshmallows, melting chocolate, and assembling s’mores teach heat awareness and timing. Kids learn that heat isn’t scary when managed carefully.
Fruit parfaits and smoothie bowls require no heat. Children layer yogurt, granola, and fresh fruit they’ve helped prep or grow. It’s a quick win that builds culinary confidence.
For older kids, marinated chicken kebabs or simple stir-fries on a portable camp stove introduce flavor combinations and timing. These activities teach reading recipes, measuring, and basic food safety (like not cross-contaminating raw and cooked foods).
Garden-to-table activities amplify the learning. Even a small herb garden near the kitchen, basil, mint, cherry tomatoes, teaches where food comes from. Kids harvest what they’ll use immediately in meals, deepening their connection to cooking.
Budget-Friendly Tips For Getting Started
You don’t need to spend thousands. Start small and expand as kids show interest.
A portable prep cart with wheels (under $200) gives you a movable kitchen that works on patios, decks, or grassy areas. Pair it with a small tabletop grill or camp stove ($50-150) and a basic shelving unit for storage. Total investment: under $500 for a functional setup.
If building permanently, use composite decking or pressure-treated wood for surfaces, these resist weather and require less maintenance than cedar or redwood. Reclaimed wood adds character but needs sealing annually with a food-safe finish.
Skip expensive outdoor appliances initially. A single-burner camp stove is sufficient: invest in a full cooktop only after kids have cooked regularly for months and you’re confident they’ll use it.
For storage, use weatherproof outdoor storage boxes ($30-80) instead of custom cabinetry. They’re durable, affordable, and portable if you need to relocate.
DIY your water station using a hose-connected utility sink from a hardware store ($100-200) rather than hiring a plumber to run permanent lines. This is a temporary solution that avoids permits and keeps initial costs down.
Source tools and utensils gradually. Kids don’t need a full professional set, child-sized kitchen tools are lighter and safer. Budget $30-50 for quality utensils that last and won’t frustrate young users.
Conclusion
An outdoor kitchen for kids isn’t a luxury, it’s a practical investment in their confidence, health, and connection to food. Whether you start with a simple cart or build a permanent station, the essentials remain the same: accessible prep space, safe heat sources, storage, water, and clear safety practices. Tailor the setup to your children’s ages and interests, prioritize protection over perfection, and remember that the goal is learning and fun. Start small, let kids help with the building and cooking, and watch their excitement grow as they discover that they can create delicious meals under the open sky.