
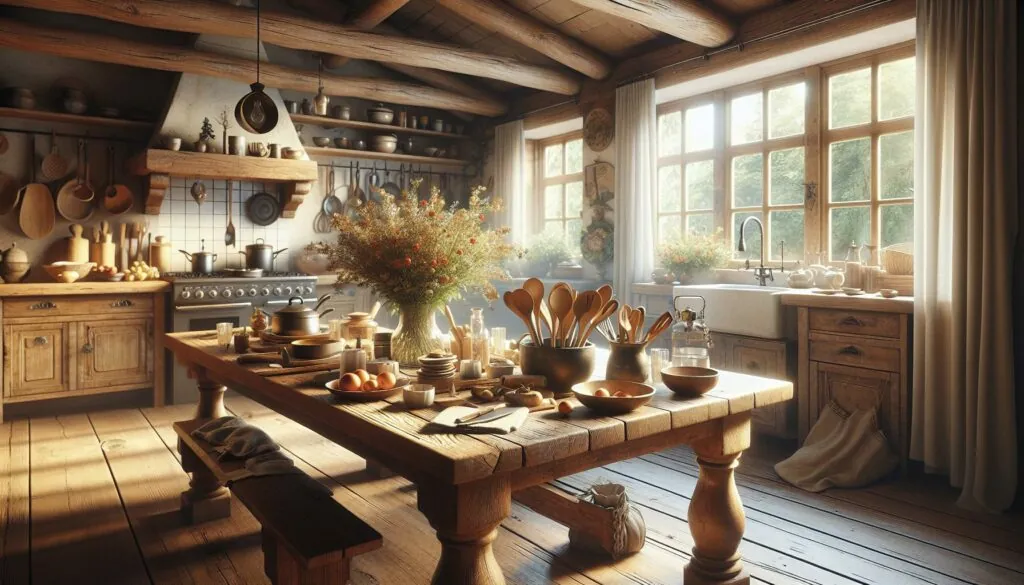
I’ve spent countless hours crafting custom kitchen tables and I know firsthand how a well-built table can transform your dining space. Whether you’re looking to save money or create something unique building your own kitchen table is an incredibly rewarding project.
As a woodworking enthusiast I’ll show you that creating a beautiful kitchen table doesn’t require professional-level skills. With the right plans materials and basic tools you’ll be able to build a sturdy table that’ll last for generations. From farmhouse-style classics to modern designs I’ve compiled proven plans that’ll help you craft the perfect centerpiece for your kitchen.
Key Takeaways
- Building a kitchen table requires careful planning, with three main styles available: farmhouse, modern minimalist, and extension tables – each offering unique features and aesthetics.
- Essential materials include quality hardwoods (oak, maple, walnut, cherry) and proper tools like a circular saw, drill/driver, orbital sander, and router for professional results.
- The construction process involves three key phases: tabletop construction with proper edge-joining, base assembly using appropriate joinery methods, and careful finishing techniques.
- Common mistakes to avoid include using improperly dried wood, rushing through joint preparation, and applying finishes without proper surface conditioning.
- Regular maintenance is crucial – clean daily with mild soap solution, protect from environmental factors, and schedule periodic finish maintenance based on the type used.
Key Types of Kitchen Table Plans
I’ve crafted dozens of kitchen tables over 15 years, categorizing the most popular plans into three distinct styles based on design elements, materials and construction techniques.
Farmhouse Style Tables
Farmhouse kitchen table plans feature robust wood construction with a 2-inch thick tabletop and chunky 4×4 legs. The essential components include breadboard ends, mortise-and-tenon joinery and diagonal cross braces beneath. Common wood choices are:
- Pine boards for a rustic appearance with natural knots
- Oak planks for enhanced durability with visible grain patterns
- Reclaimed barn wood for authentic weathered character
Modern Minimalist Designs
Modern table plans emphasize clean lines with floating tops and geometric bases. The core elements incorporate:
- Hairpin metal legs attached to slim 1-inch tops
- Waterfall edges created with mitered joints
- Glass inserts framed by thin metal channels
- Pedestal bases with sleek cylindrical supports
- Center leaf storage compartments beneath the top
- Heavy-duty metal slides rated for 200+ pounds
- Self-storing butterfly leaf mechanisms
- Draw knife hardware for smooth operation
- Locking pins to secure extended positions
| Table Type | Standard Dimensions | Extended Length | Weight Capacity |
|---|---|---|---|
| Farmhouse | 72″ x 38″ x 30″h | N/A | 500+ lbs |
| Modern | 60″ x 36″ x 29″h | N/A | 300+ lbs |
| Extension | 60″ x 42″ x 30″h | 96″ | 400+ lbs |
Essential Materials and Tools Needed
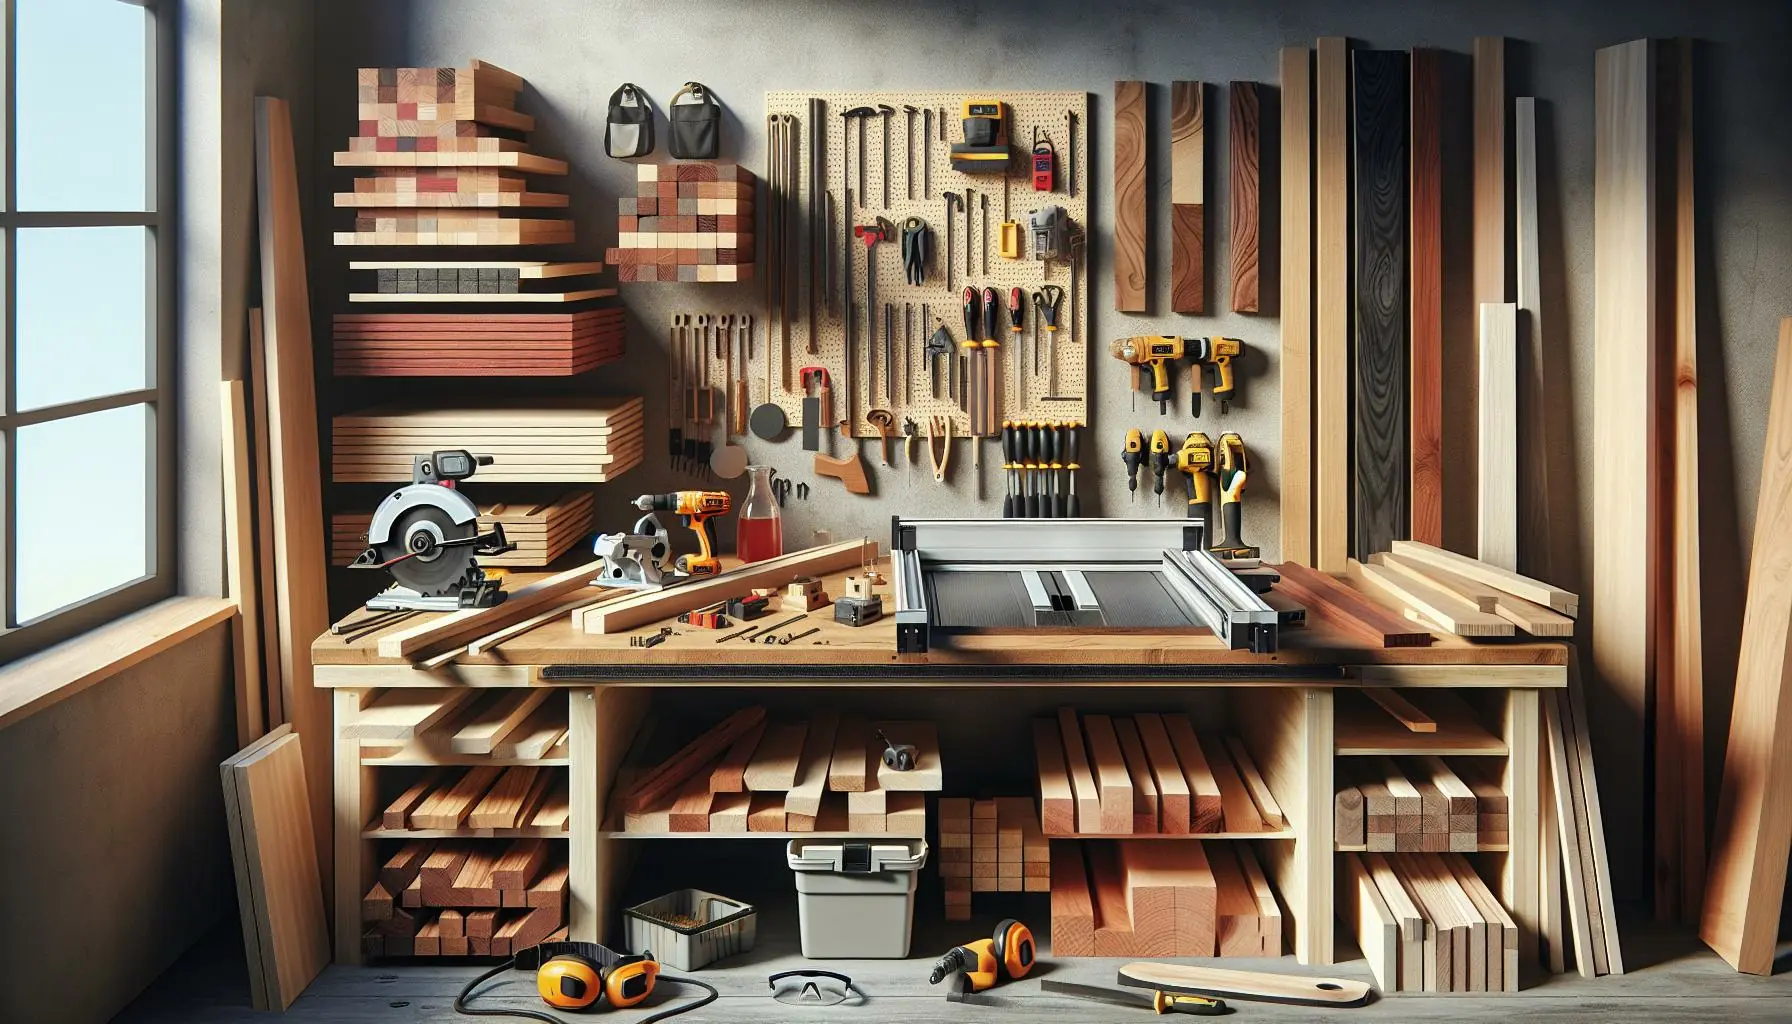
Building a kitchen table requires specific materials and tools to ensure a professional result. I’ve compiled a comprehensive list based on my experience crafting custom tables for over 15 years.
Lumber Selection Guide
The foundation of a quality kitchen table starts with proper lumber selection:
Hardwoods
- Red Oak: 8/4 thick boards for tabletops
- Maple: 4/4 thick boards for aprons
- Walnut: 6/4 thick boards for legs
- Cherry: 4/4 thick boards for decorative elements
Dimensional Lumber
- 4×4 posts for traditional legs
- 2×6 boards for support beams
- 1×4 boards for bracing
| Wood Type | Cost per Board Foot | Durability Rating |
|---|---|---|
| Red Oak | $8-12 | 1350 Janka |
| Maple | $6-10 | 1450 Janka |
| Walnut | $12-18 | 1010 Janka |
| Cherry | $7-11 | 950 Janka |
Required Hardware and Tools
Essential tools and hardware for table construction:
Power Tools
- Circular saw with 60-tooth blade
- Drill/driver with 3/8″ chuck
- Random orbital sander (120-220 grit)
- Router with 1/2″ collet
Hand Tools
- 24″ level
- 16 oz hammer
- 12″ combination square
- 6″ block plane
- 2-1/2″ wood screws (50 count)
- 3/8″ lag bolts (16 count)
- Figure-8 fasteners (8 count)
- Corner brackets (4 count)
- Safety glasses
- Hearing protection
- Dust mask
- Work gloves
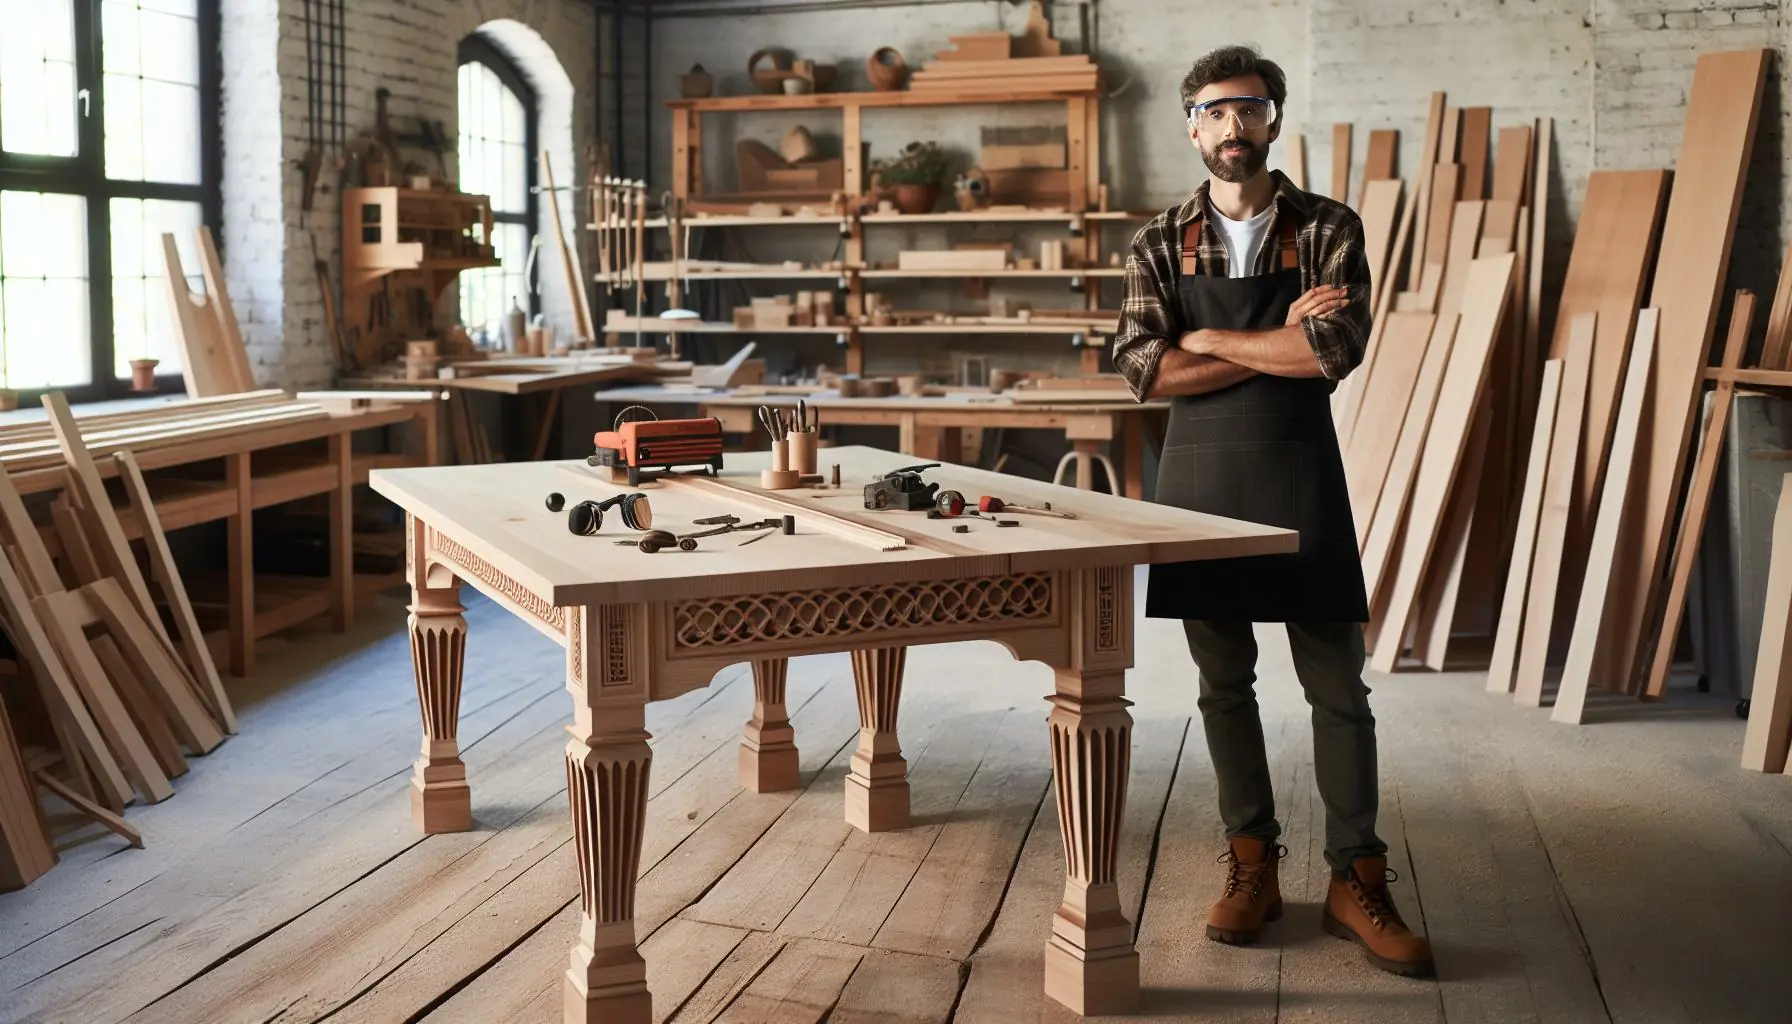
Building Process Overview

After 15 years of crafting custom kitchen tables, I’ve developed a streamlined construction process that maximizes efficiency while ensuring quality results. The building process consists of three main phases: table top construction, base assembly, and finishing techniques.
Table Top Construction
Table top construction begins with edge-joining dimensional lumber using biscuits or dowels for proper alignment. I arrange boards with alternating grain patterns to minimize warping, applying even pressure with parallel clamps spaced 12 inches apart. After the glue dries, I flatten the surface using a router sled system for tables wider than 24 inches, followed by progressive sanding from 80 to 220 grit.
Base Assembly Methods
Base assembly varies by design style:
- Farmhouse Style: Connect 4×4 legs to 2×4 aprons using mortise and tenon joints
- Modern Design: Attach metal hairpin legs with threaded inserts spaced 2 inches from edges
- Traditional: Join tapered legs to aprons using corner brackets and diagonal braces
Each method incorporates proper cross supports to prevent racking, with fasteners sized according to material thickness.
- Sand all surfaces through progressive grits ending at 220
- Apply wood conditioner on pine or maple to prevent blotching
- Use 3 coats of polyurethane with 320-grit sanding between layers
- Buff final coat with 0000 steel wool for a smooth satin finish
- Allow 72 hours curing time before regular use
Tips for Customizing Your Kitchen Table
My experience building custom kitchen tables reveals multiple ways to personalize a design while maintaining structural integrity. I’ve refined these customization techniques through hundreds of successful table builds.
Size Modifications
Table dimensions adapt to specific kitchen spaces through strategic adjustments to components. I reduce standard 30-inch depths to 24 inches for smaller spaces while maintaining stability. Extending table length works in 6-inch increments, from 48 to 96 inches, by adding support legs every 36 inches. Here’s my tested size modification framework:
| Table Part | Standard Size | Minimum Size | Maximum Size |
|---|---|---|---|
| Width | 30 inches | 24 inches | 42 inches |
| Length | 72 inches | 48 inches | 96 inches |
| Height | 30 inches | 28 inches | 36 inches |
| Overhang | 12 inches | 6 inches | 18 inches |
Style Adaptations
Style changes transform standard plans into unique pieces through specific design elements:
- Replace straight legs with tapered ones using a 15-degree angle cut
- Add decorative aprons with routered patterns or inlaid wood species
- Incorporate contrasting wood types for tabletop borders or inlays
- Modify edge profiles using 5 classic options: roundover, chamfer, ogee, bevel or bullnose
- Install metal accents like corner brackets or custom base plates
- Create geometric patterns in the tabletop through 45-degree miter joints
- Maintaining 3/4-inch minimum material thickness
- Keeping support spans under 36 inches
- Using proper joinery techniques for each modification
- Following wood grain direction for strength
- Installing adequate cross supports based on table size
Common Mistakes to Avoid During Construction
Poor Wood Selection
- Using lumber with moisture content above 10% causes warping after completion
- Mixing wood species with different expansion rates creates structural issues
- Selecting boards with knots near joint areas weakens crucial connections
Inadequate Joint Preparation
- Skipping proper wood acclimation leads to gaps in joints
- Creating uneven mating surfaces results in weak glue bonds
- Rushing through sanding between 80-220 grit compromises joint integrity
Assembly Errors
- Over-tightening screws splits the wood fibers
- Misaligning aprons creates an unstable base
- Using insufficient clamp pressure results in gaps between boards
- Applying uneven glue distribution causes joint failure
Finishing Mistakes
- Applying stain before proper surface preparation leads to blotching
- Rushing between finish coats creates bubbles in the surface
- Using incompatible finishes causes adhesion problems
- Skipping wood conditioner on pine maple or cherry results in uneven coloring
- Installing improper support spans causes tabletop sagging
- Using incorrect screw lengths compromises joint strength
- Failing to account for wood movement leads to cracking
- Placing leg brackets too close to edges reduces stability
- Making cuts without accounting for blade thickness creates gaps
- Failing to square components results in wobbling
- Using different measuring tools leads to inconsistent dimensions
- Skipping diagonal measurements produces misaligned corners
Maintenance and Care Guidelines
Regular Cleaning
I recommend cleaning kitchen tables daily with a soft microfiber cloth dampened with mild soap solution. Remove spills immediately to prevent liquid absorption into the wood. Avoid harsh chemical cleaners or abrasive materials that damage the finish.
Surface Protection
Place protective pads under hot dishes plates laptops. Use coasters under glasses beverages to prevent water rings. Apply felt pads beneath decorative items that remain on the table surface.
Environmental Conditions
Position tables away from direct sunlight heating vents to prevent wood warping cracking. Maintain indoor humidity between 35-45% using a hygrometer. Adjust room temperature between 60-80°F for optimal wood stability.
Finish Maintenance
Schedule for Different Finishes:
| Finish Type | Maintenance Frequency | Recommended Product |
|---|---|---|
| Polyurethane | Every 3-5 years | Water-based poly |
| Oil-based | Every 6-12 months | Danish oil |
| Lacquer | Every 2-3 years | Clear lacquer |
| Wax | Every 3-4 months | Paste wax |
Damage Prevention
- Lift objects instead of sliding them across the surface
- Rotate table accessories monthly to prevent uneven aging
- Keep sharp objects away from the tabletop
- Address scratches dents immediately with appropriate repair methods
Seasonal Care
Inspect joints hardware quarterly tightening loose components. Apply wood conditioner before winter summer seasons. Clean thoroughly during spring fall using appropriate wood cleaners based on finish type.
Building your own kitchen table is a rewarding project that I wholeheartedly recommend. I’ve seen countless DIY enthusiasts transform their dining spaces with custom tables that perfectly match their vision and needs.
With the detailed plans shared here you’ll have everything needed to create a beautiful and lasting piece of furniture. Remember that success lies in careful planning proper material selection and attention to detail during construction.
I’m confident that by following these guidelines you’ll craft a kitchen table that becomes the heart of your home and creates memories for years to come. Now it’s time to gather your materials and start building your perfect kitchen table.

