Table of Contents
ToggleA backyard cooking space doesn’t need a complete teardown to feel fresh and functional. Outdoor kitchen grill inserts are the unsung heroes of patio upgrades, they let homeowners swap out an old, underperforming grill or add professional-grade cooking capability to an existing built-in island without gutting the whole setup. Whether someone’s working with a tight budget or just looking to breathe new life into their outdoor space, a grill insert offers a practical, cost-effective solution. The best part? Most installs don’t require hiring a contractor or pulling permits. Let’s walk through what grill inserts are, why they work so well, and how to pick the right one for any backyard.
Key Takeaways
- An outdoor kitchen grill insert is a drop-in cooking unit that fits seamlessly into existing outdoor islands or countertops, allowing homeowners to upgrade their cooking capability without a complete kitchen rebuild.
- Grill inserts cost $400 to $2,500 and deliver significant savings compared to building a full custom island, which can exceed $10,000, while eliminating the need for expensive masonry and gas line work.
- Modern grill insert models feature heavy-gauge stainless steel grates, precision burner placement, and consistent heat control that outperform older mismatched grills and enable versatile cooking from high-heat searing to low-temperature roasting.
- Gas inserts (natural gas or propane) dominate the market for precision and convenience, while charcoal inserts appeal to purists, and hybrid systems offer maximum flexibility for advanced cooks.
- Proper installation requires measuring the opening, verifying fuel availability, ensuring heat-safe clearance (6–12 inches of ventilation), using proper gas line materials, and installing adequate ventilation like a chimney hood to prevent heat and smoke damage.
- Seasonal maintenance of your grill insert is simple: clean grates after each use, empty the grease trap annually, inspect burner holes, and protect painted surfaces with covers to extend lifespan.
What Is an Outdoor Kitchen Grill Insert?
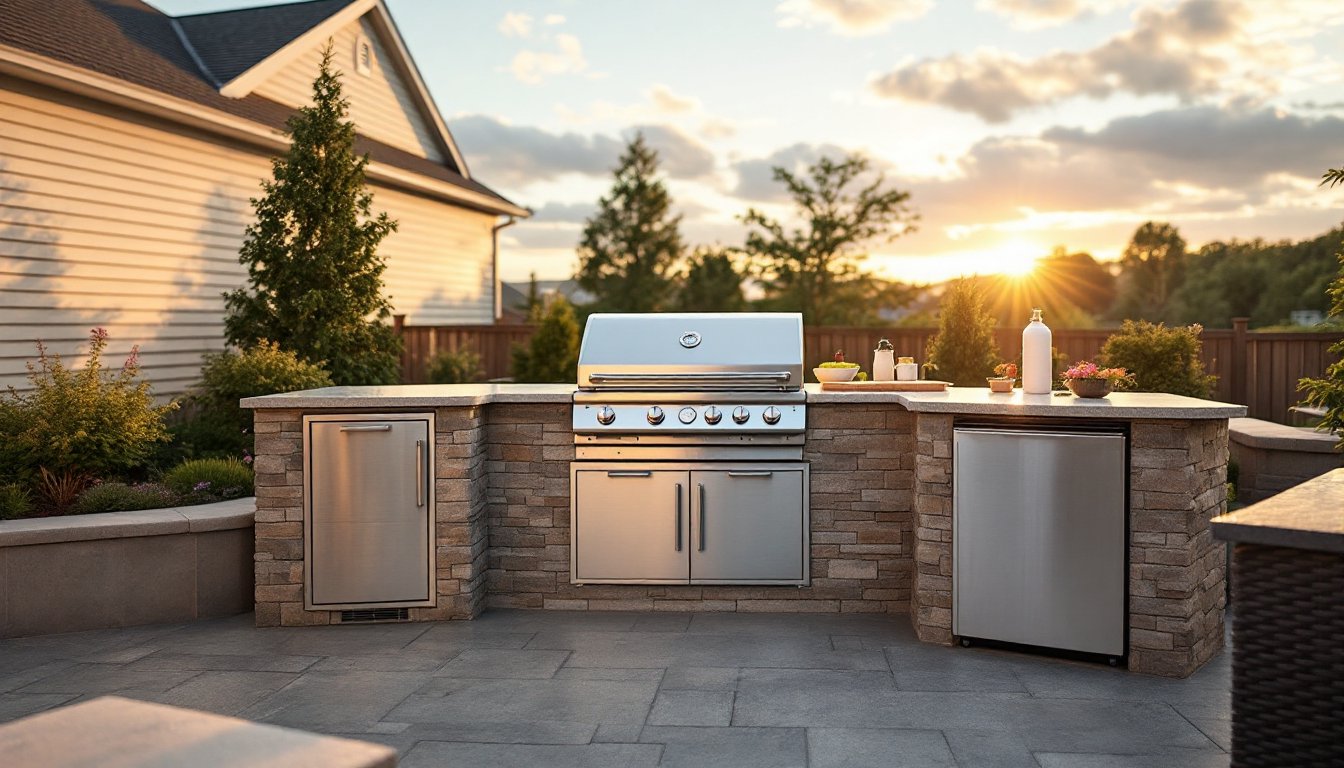
A grill insert is a drop-in cooking unit designed to fit into an existing outdoor kitchen island, countertop cavity, or custom frame. Unlike a freestanding grill, it’s built flush with (or slightly proud of) the surrounding counter surface, creating a seamless, integrated look. The unit typically includes the grill box itself, the firebox, grates, and heat management components, plus necessary hardware for mounting and ventilation.
These inserts come in a range of sizes, most commonly 18-inch, 24-inch, 32-inch, and 36-inch widths. They’re designed to accept natural gas, liquid propane, or charcoal fuel sources, depending on the model. The key advantage is modularity: if the old grill is shot or doesn’t match the cooking style a homeowner wants, yanking it out and dropping in a new unit takes an afternoon, not a week of deconstruction.
Key Benefits of Installing a Grill Insert
Cost-Effective Upgrades
Replacing a grill insert costs a fraction of rebuilding an entire outdoor kitchen. A quality insert runs $400 to $2,500 depending on size and features, while a custom-built island with integrated cooking can exceed $10,000. Homeowners who already have a concrete pad, frame, or island structure in place simply need to match the insert opening and drop the unit in. This approach sidesteps expensive masonry work, complex gas line routing, and general contractor labor.
Another financial win: upgrading the grill doesn’t require ripping out the countertops, cabinetry, or surrounding infrastructure. That means less waste, less disruption, and faster payback on the investment.
Enhanced Cooking Performance
Older or mismatched grills often have spotty heat distribution, rusted grates, or weak burners that can’t reach the temps needed for proper searing or even heating. Swapping in a modern insert solves that immediately. New grill inserts use heavy-gauge stainless steel or cast iron grates, precision burner placement, and better heat deflection systems that deliver consistent, controllable cooking zones.
Many inserts also include features like side burners, rotisserie attachments, or integrated thermometers that the original setup lacked. The result is more versatility, a cook can sear steaks on high heat, roast vegetables at low temp, and keep a sauce warm all at the same time.
Types of Grill Inserts to Consider
Gas inserts dominate the market and come in two flavors: natural gas (hardwired to a home’s gas line) or propane (tank-fed). Gas offers precise temperature control and low maintenance: burners ignite instantly and the cooking surface heats evenly. They’re the default choice for convenience and reliability.
Charcoal inserts appeal to purists and those who want the authentic smoke and flavor. They’re simple, durable, and usually cheaper than gas. The trade-off is hands-on management, tending to charcoal requires attention, and heat control isn’t as precise. Some high-end models incorporate dampers or adjustable grates to help manage temperature zones.
Hybrid or modular systems combine gas and charcoal, or gas with side burners and secondary cooking surfaces. These units cost more upfront but give maximum flexibility. For instance, a cook might sear protein on the gas main grill while smoking vegetables on a charcoal offset box.
Size and configuration matter too. A 24-inch insert suits couples or small households: a 32 to 36-inch works for families or frequent entertainers. Some builds include infrared burners for searing, ceramic tiles for even heat distribution, or multiple combustion chambers for zoning. Review the cubic footage of the intended space before ordering, nominal opening size (like “24-inch”) doesn’t always match actual outside dimensions.
How to Choose the Right Grill Insert for Your Space
Start with measuring the existing opening or cavity. Measure width, depth, and height: account for ventilation clearance (typically 6 to 12 inches above the insert and behind it, per local building codes). Check whether the space will accommodate an insert that sits flush or one that overhangs slightly, both are common, but the install experience differs.
Next, identify fuel availability. If natural gas isn’t already piped to the outdoor kitchen, propane is simpler and cheaper to set up. Charcoal requires no gas but demands more attention. Factor in the cost of annual gas tank exchanges or charcoal restocking.
Match cooking frequency and style to the feature set. Casual grillers benefit from a straightforward, reliable gas insert with two or three burners. Serious cooks or those who entertain often may justify the extra cost of dual-fuel models, infrared searing burners, or built-in thermometers and lighting.
Also check material durability. Stainless steel is premium, weatherproof, and low-maintenance but commands a higher price. Painted steel or aluminum is cheaper and lighter but requires more rust prevention and may not last as long in humid or coastal environments. Review warranty terms, many quality inserts include 5 to 10-year coverage on the firebox and burners.
Installation and Maintenance Tips
Before installing, ensure the surrounding structure is sound and level. A tilted insert leads to grease pooling and uneven cooking. If the opening needs shimming, use stainless steel shims or aluminum, never wood. Verify that the frame or surround material (concrete, stone, or brick) can handle the heat: there should be no combustible materials within 2 inches of the firebox sides, and at least 6 inches above the top of the grill opening, per IRC guidelines. If in doubt, consult the manufacturer specs and local codes.
For gas connections, a flexible braided hose or copper line rated for propane/natural gas is acceptable, but hard-piped copper or CSST is preferred for permanent installations. All connections require a wrench, no clamping. If the homeowner isn’t comfortable working with gas lines, hire a licensed gas fitter: this is one area where a small mistake can create safety hazards.
Ventilation is critical. Most insert manufacturers require a chimney hood, soffit vents, or open-air surround to allow smoke and heat to escape. A boxed-in island without ventilation will trap heat and smoke, damaging the cabinetry and creating a cooking nightmare. Check the insert’s manual for minimum airflow specs before finalizing the build.
Maintenance is straightforward: clean the grates with a stiff brush after each cook, empty the grease trap every season, and brush out any debris from the burner area. For gas models, inspect the burner holes annually: if clogs form, soak in warm water and use a soft pick (never a metal skewer that can enlarge the port). Seasonal covers or tarps extend the lifespan of painted or aluminum surfaces. Stainless steel rarely needs more than a rinse and occasional polish with a specialized cleaner.